
Titration procedures#
Important
The I2 formed are sensitive to the light! So, you need to be very careful with your sample: Keep your sample reagent blank and standardization thiosulfate in darkness.
Danger
Wear gloves and goggles during analysis!
Prepare the Metrohm Ti-Touch 916#
Turn on the Ti-Touch Unit, Press the power switch on the left-hand side of the black panel of the Ti-Touch unit
Install the propeller stirrer, the electrode and the buret tip as follow
Prepare the unit dosing with Thiosulfate 0.05N
Opening the manual control (Press the key “hand” at the left of the red square)
Select
Dosingon the screenSelect the function
Fill,PrepareorEmptyMake sure to point your buret tip in a becherGo back to the main screen (press the house at the left of the screen)
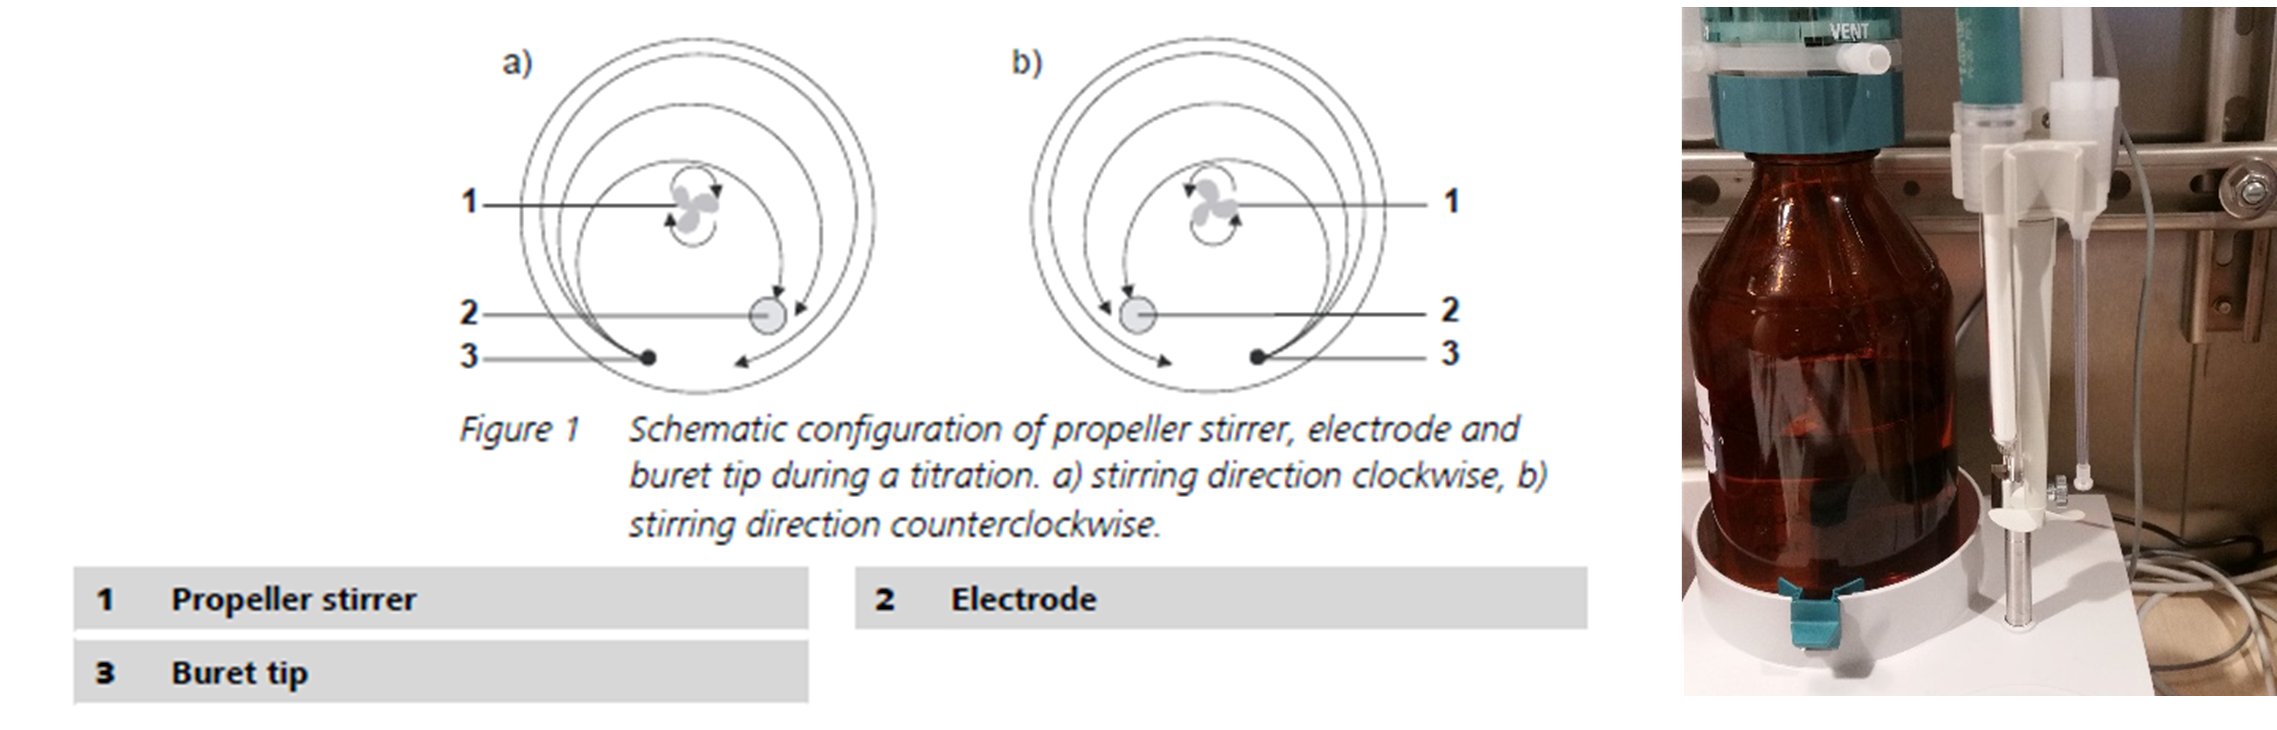 Figure 4: Schematic configuration of propeller stirrer, electrode and buret tip (left) and Picture of the dosing system (right, Picture: Claire Mourgues)
Fill: This function fill the system when you use the titrator for the first time or if you made a new Thiosulfate solution.
Prepare: The prepare function is used to rinse and fill the cylinder and tubing of the exchange or dosing unit air bubble-free. You should carry out this function before the first determination or once per day. It is very important to have no bubble before an analyze.
Empty: This function is used to empty the system at the end of a survey or when you make a new Thiosulfate solution. When you change your thiosulfate solution, this is very important to empty the system and to fill it with the new solution.
Modify/Access parameters to a method
On the main screen, press
Load methodSelect
internal memorySelect
Show allSelect your method
LoadBack to the main menu, Press
Homeat the left bottomSelect
Edit parametersSelect the command
Select
Edit command: Each method is organized with commands; a command can represent an End Point or the creation of a report. If you would like to determinate two EP for one sample, you need to create 2 commands.You can find in this document the parameters for the all methods created: Parameter table
Initial volumes for different dissolved oxygen concentrations measured by the CTD sensor (to set up a method for the sample titration):
Vinitial (ml)
CTD DO conc. (ml l-1)
2
5.5
1.4
4
1
3
0.7
2
0.3
1
0
0
Reagent blank determination (to be done before and after each sequence, typically 4-5 blanks)#
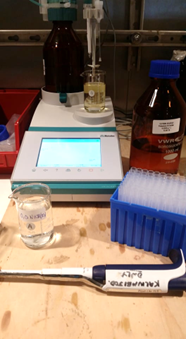
Figure 5: Material for the reagent blank determination. Picture: Claire Mourgues
Fill a becher with 80ml of DEST water and add a stir bar
Add 1ml of KIO3 solution using Micropipette (100 to 1000µl) and mix well with the magnetic stirrer. Use a becher labelled for KIO3, if you pipette in the bottle you can contaminate the reference solution and in fact you can determinate a wrong thiosulfate calibration.
Add 1ml of H2SO4 solution with the dispenser and mix with the magnetic stirrer. If you use the dispenser for the first time, you need to dispense one or two times in a waste 1L glass bottle labelled.
Add 1 ml of NaI/NaOH (Reagent B) and mix.
Add 1 ml of MnCl2 (Reagent A) and mix.
Load the blank determination method (on the main screen, select
Load method,internal memory, and selectWinkler Titration BLANKandLoad, you can check if you have downloaded the method on the main screen in the blue line on top of the screen)Immerge the electrode, the stirrer and the buret tip
Run the automatic titration (press the green play bottom)
When the message shows up on the screen, add another 1ml KIO3 in the same becher with a Micropipette (100 to 1000µl)
Note the volumes V1 and V2
Rinse with DEST water the electrode, the stirrer and the buret tip
Empty the becher and rinse it with TAP water and after with DEST water
With automated titration systems, you overshoot your first end point. Then, you need to calculate your Reagent blank value with the formula: 2V1 – V2 – V3 with V1 the volume (ml) of the first endpoint, V2 the volume (ml) of the volume of the second endpoint and V3 the final volume (mL) for the first endpoint (V1 + 0,02mL)
Reagent Blank Value (ml): 2V1 – V2 – (V1+0,02)
Generally, 4-5 blank determinations are run, and the Reagent blank values are averaged. This value should be within ±0.3% of each other.
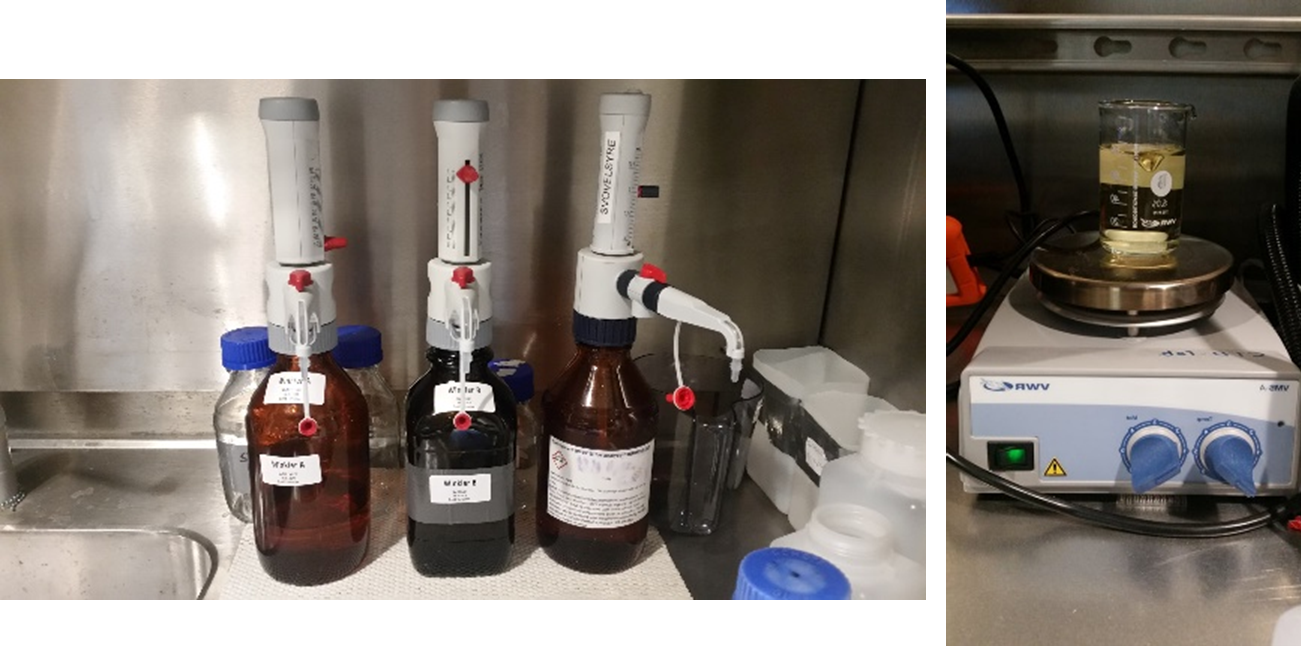 Figure 6: Dispenser for reagents A, B and for H2SO4 (left), magnet stirrer to mix the sample (right). Picture: Claire Mourgues
Standardization of thiosulfate solution (to be done every week)#
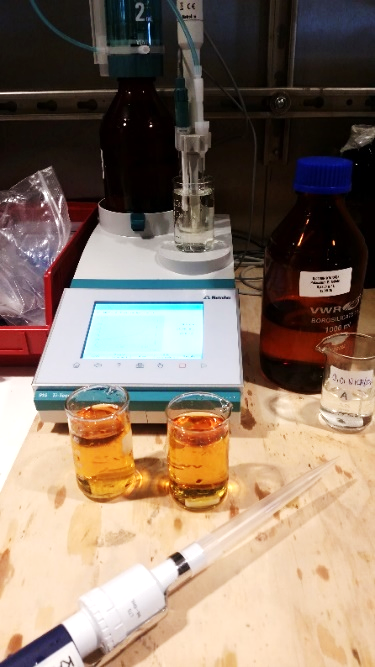
Figure 7: Material for the thiosulfate standardization. Picture: Claire Mourgues
Fill a becher with 80ml of DEST water and add a stir bar
Add 10ml of KIO3 solution using a Micropipette (1 to 10ml) and mix well with the magnetic stirrer.
Add 1ml of H2SO4 solution and mix.
Add 1ml of NaI/NaOH (Reagent B) solution and mix.
Add 1ml of MnCl2 (Reagent A) solution and mix.
Load the Thiosulfate standardization method (on the main screen, select
Load method,internal memory, and selectWinkler Titration STDandLoad, you can check if you have downloaded the method on the main screen in the blue line on top of the screen)Immerge the electrode, the stirrer and the buret tip in the becher
Run the automatic titration (press the green play bottom)
Note the volume Vthio
Rinse with DEST water the electrode, the stirrer and the buret tip
Empty the becher and rinse it with TAP water and after with DEST water
Generally, 4-5 standards are run, and the endpoints are averaged. The endpoints should be within ±0.3% of each other.
Titration of the sample#
Note the bottle number, the bottle volume and the approximate Oxygen concentration in the Hydrographical form.
After minimum 1.5 hours, you can analyze your sample
Remove the stopper of sample flask and take out around 50mL with the big plastic syringe or a 10ml pipette. Don’t take up some of the blank precipitate.
Add 1ml of H2SO4, mix and allow the precipitate to dissolve. If all the precipitate does not dissolve, up to a second 1ml of H2SO4 can be added. At this step you cannot contaminate your sample with oxygen from the atmosphere.
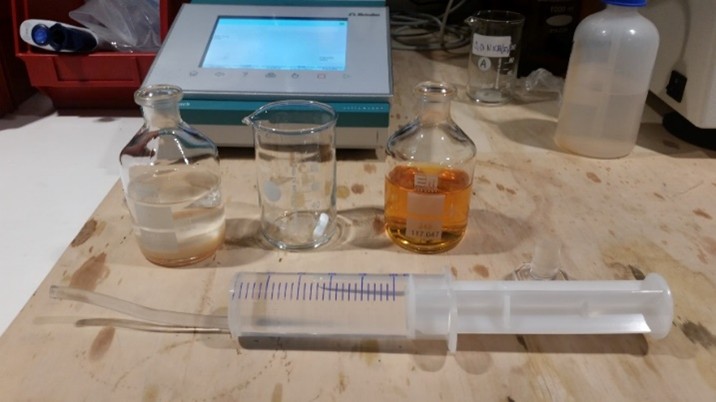
Figure 8: Sample transfer. Picture: Claire Mourgues
Transfer the sample in a becher and rinse well the sample flask with DEST water, this step is critical, you can lose some materiel (I2), The sample is now ready for titration.
Load the titration sample method: Load the method corresponding to Oxygen concentration (on the main screen, select
Load method,internal memory, and selectxxx, you can check if you have downloaded the method on the main screen in the blue line on top of the screen)Immerge the electrode, the stirrer and the buret tip in the becher
Run the automatic titration (press the green play bottom)
Note the volume Vsample
Rinse with DEST water the electrode, the stirrer and the buret tip
Empty the becher and rinse it with TAP water and after with DEST water